
The factory Miata seats were pretty well worn out and a replacement set was received a while ago. They are not true “race seats” as I am watching my budget and this is an HPDE car, not a race car. The replacements have substantial side bolsters on the seat bottom and for the shoulders, and allow for the six-point belt restraint system to be used.
The seats will also have sliders so that more than one dimension of driver can use this track car. That means that I had to design and make a set of seat brackets for the sliders/seats to mount to.
I went by the local Home Depot and picked up some channel steel and some flat steel and then set to work on the design.
The center-to-center distance on the seats’ threaded mounting points was 13 and 3/8 inches. So I had to lay out the mounts so that they could bolt to the floor of the car using the factory bolting points and be able to accommodate that dimension for the sliders.
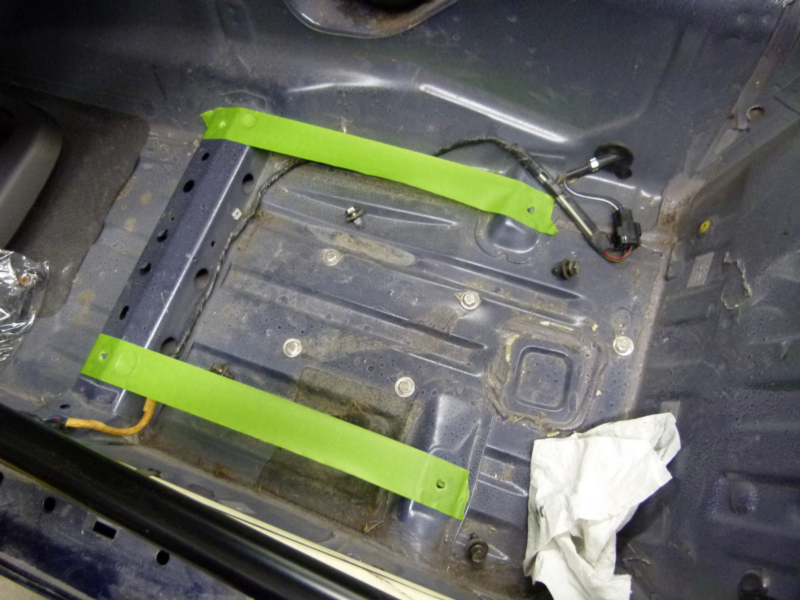
I first used wide masking tape that went from hole-to-hole so I could get an idea of how the metal would need to run. Then I measured to be sure that the tracks would have room to mount and slide. When I felt things looked good I cut strips of cardboard and slid them under the masking tape. Then I made short sections of cardboard for the area of masking tape where the mounting bolts would need to go through.
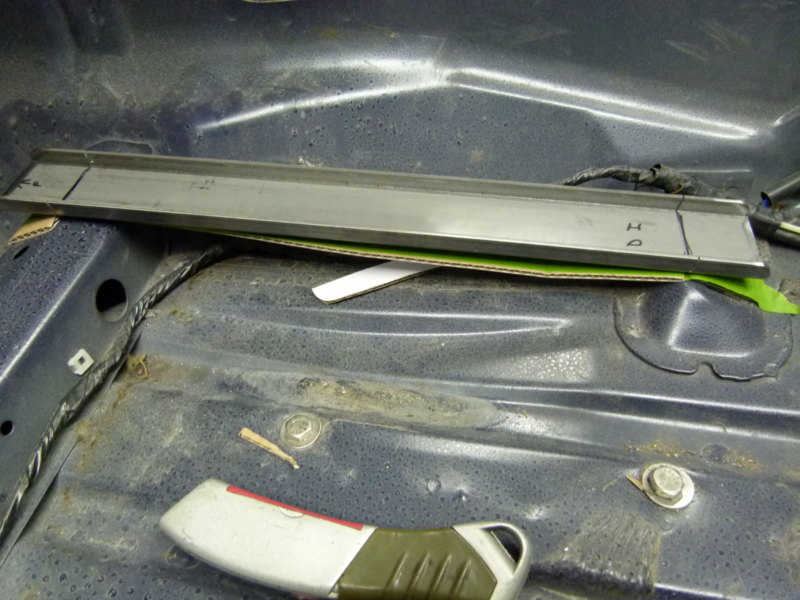
I transferred these measurements to the steel channel and carefully marked where the holes for the mounting bolts needed to be drilled.
I also had to bend the channel so that it would conform to the mounting areas on the floor where the stock mounts were bolted. To do that I had to cut slots at the right points through the channel so I could bend the tabs to conform to the floor.

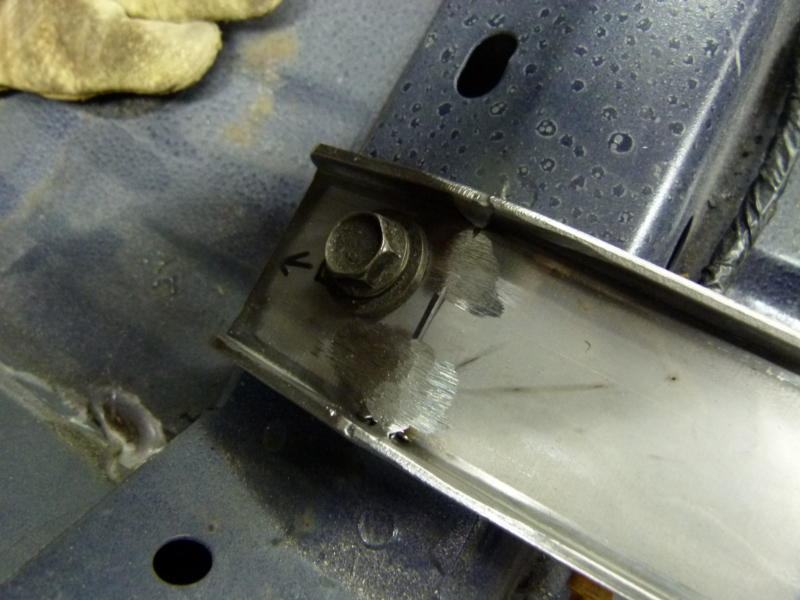
Once the bends were confirmed to be at the proper angle I used the MIG welder to fill in the “V” gap and fix the area of the bend so it would be strong and not flexible. A little time on the grinding wheel and the lumpy parts of the weld area were smoothed out to conform to the rest of the steel channel.
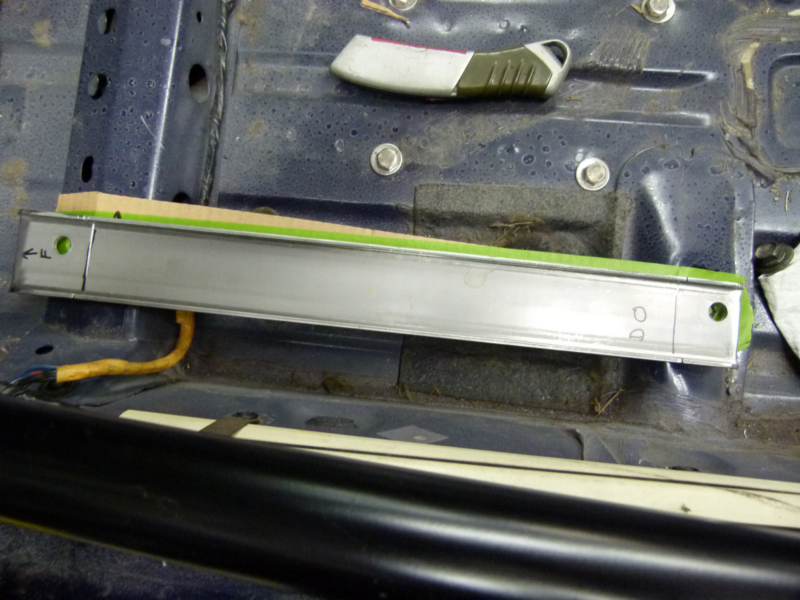
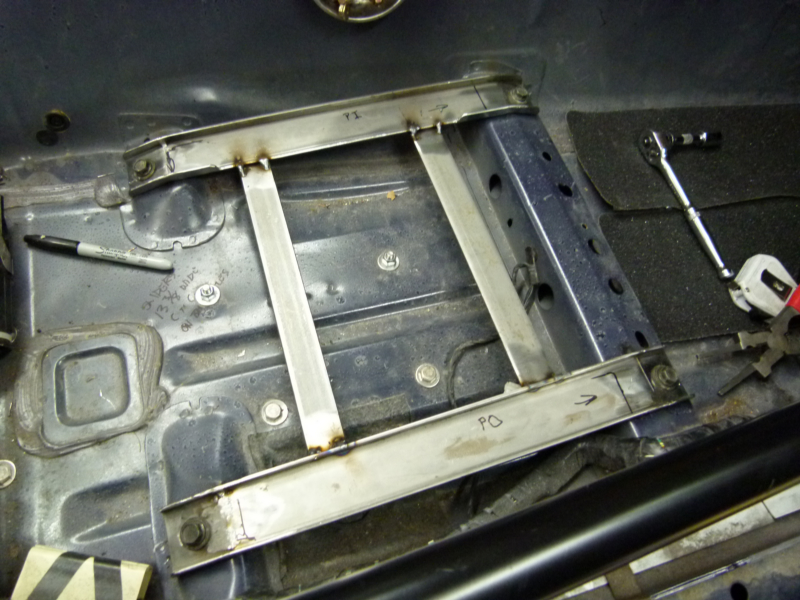
Then the holes for the mounting bolts were drilled. The completed steel frames were bolted in place and measurements were taken to be certain that the seat sliders would be able to be bolted in the seats and the new mounts.

I discovered that the driver’s side was a bit narrow due to the transmission tunnel intruding into that side of the compartment. So I had to make certain that the mounting holes were offset enough to maintain that 13 and 3/8 inch center-to-center for the sliders. I also had to cut out some of the side of the channel so that the sliders would be able to move the lock under the seat.

That took some work with the cut-off tool and some additional time on the bench grinder.
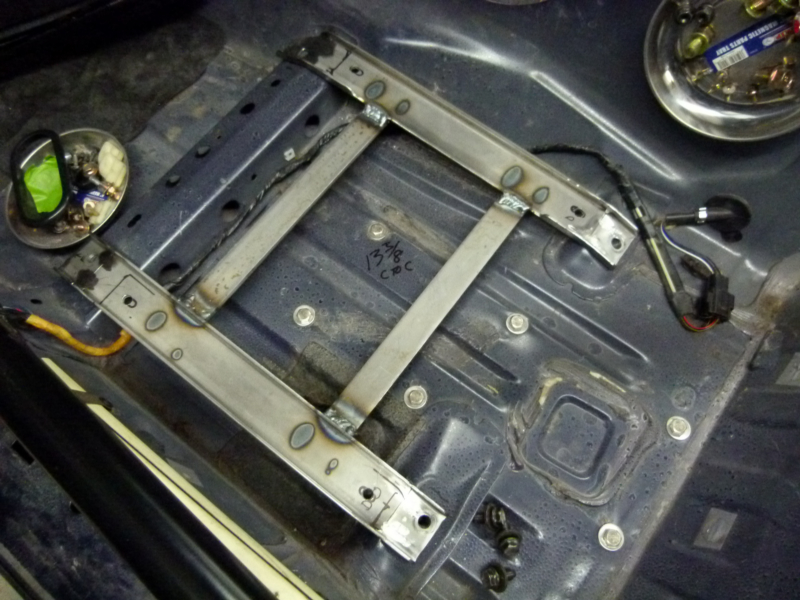
When all was as it should be I once again bolted both sides to the stock mounting points on the floor and made certain that the 13 and 3/8 inch c-to-c was still there. Then I tack welded on a couple of cross-over straps of steel. These would ensure that the dimension between the mounts would remain proper when I mounted the sliders to the seats and the new mounts.
A little more clean-up with the grinder and it was time to locate the holes in the mounts for the sliders themselves. When that was done I could spray on some primer and follow that up with some satin black Rustoleum paint.
I don’t plan to mount the new seats until the car is painted. That goes for the Momo steering wheel, too.

Stay tuned.

Leave a comment