
Some day I should invest in a CARFAX report and find out the history of this Miata M-edition that I have. From the VIN it looks like it started out in NC as well as ended up in NC for me to buy it, but it certainly looks like it spent some time where salt and snow happens more frequently.

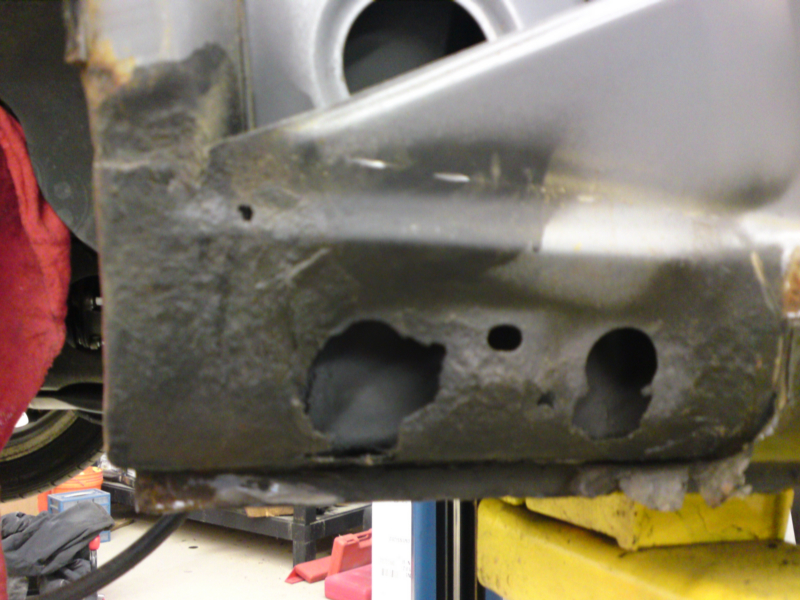
Just in front of the rear fenders, low down, was rusty bubbling paint. A little prodding with a screw driver and the flakes gave way spilling rusty steel on to the shop floor. At that point I sourced replacement panels that would be used to replace the rotted sections.

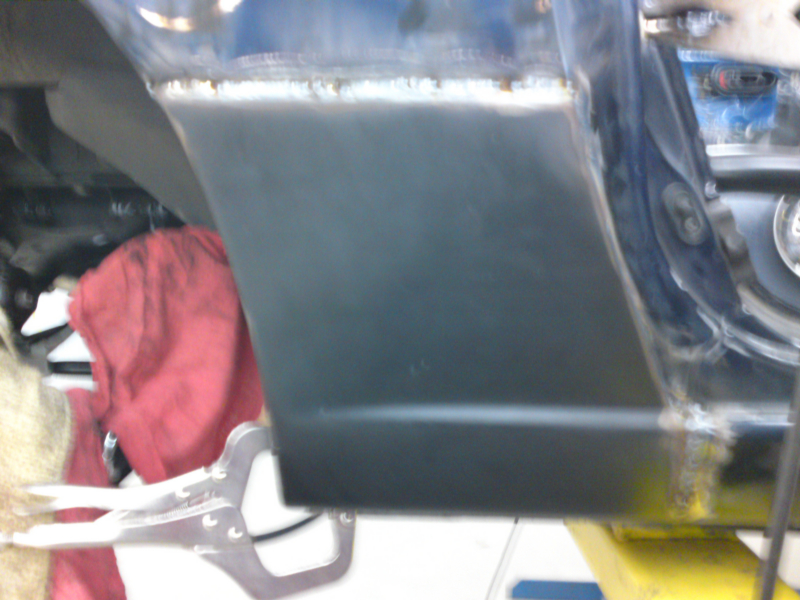
Mark broke out the MIG welder and I trimmed the new metal to the size and shape we needed to replace the cut out sections.
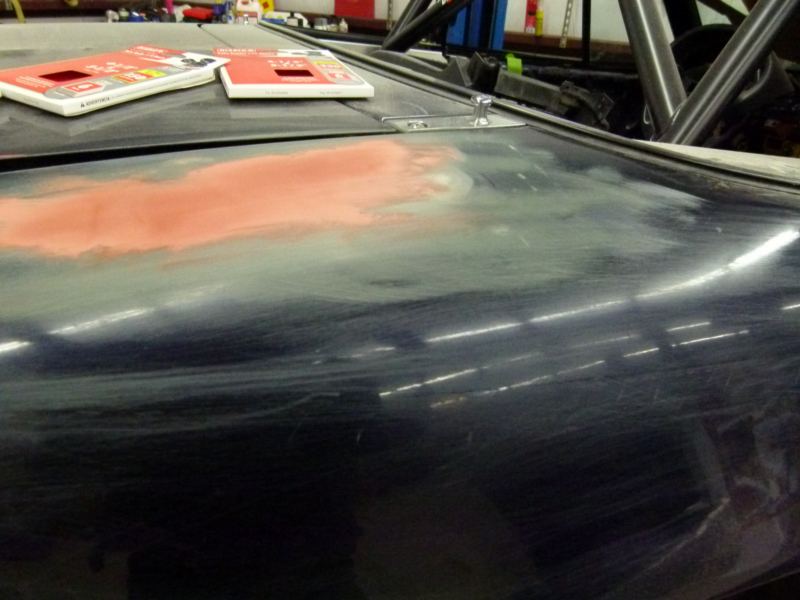
Once welded in place it was time for some careful grinding to get things closer to what they should be in terms of smoothness and looks, then a spray with some self-etching primer.
That preserved things and gave us a base for applying some body filler in stages. The filler was smoothed on and given an hour or two to dry before it was sanded. More filler was used to bring the contours back to the proper shape.
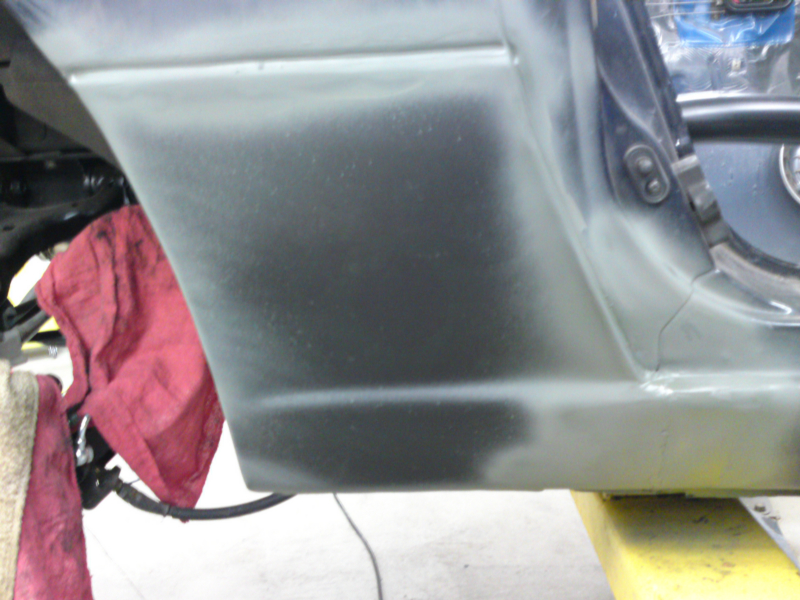
Several itterations later and it was just a matter of some light coats of filler to finish things.
The rear panel had the badges removed so the holes were also filled and finished. The hole in the top of the rear fender for the radio antenna was filled in with metal and also sanded and smoothed with body filler.
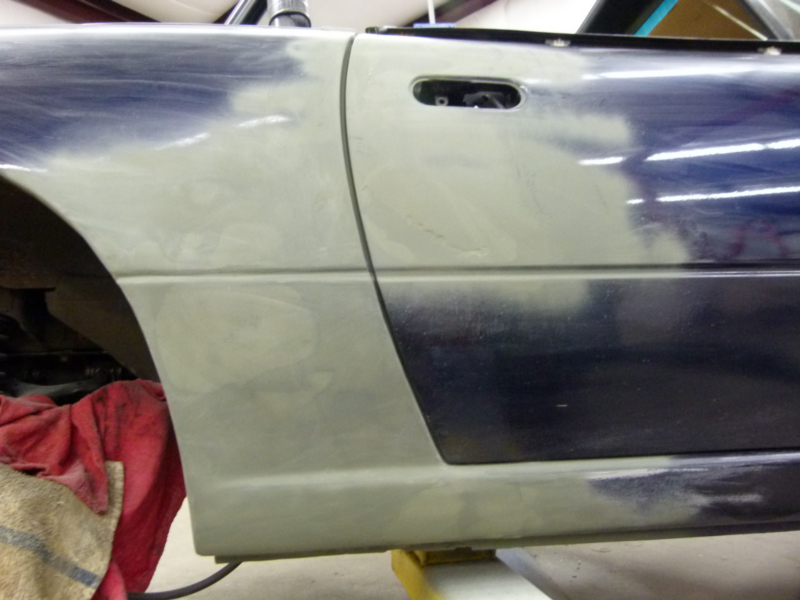
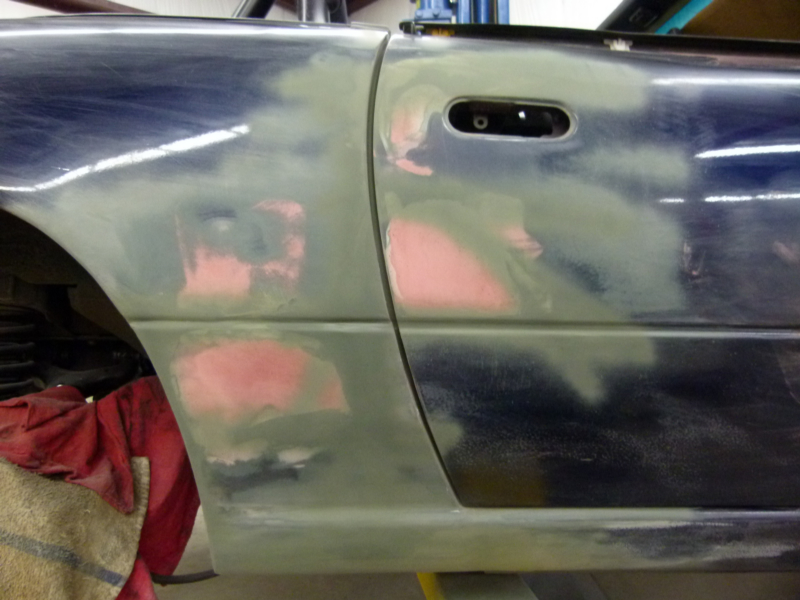
The passenger door had been repaired, badly, around the door handle. The old body filler was cracking so it was dug out and taken down to bare metal that was sanded free of rust and primed prior to body filler being correctly applied.
All in all things shaped up nicely. A rear spoiler was added to the trunk and the a new Mazda front bumper cover has been prepped for mounting. The old front cover had several pieces snapped off from the under tray as well as some damage to the front.
The bumper cover will be left off until the engine work is completed and the new radiator and fans are installed.
More to come.

Leave a reply to Bennett Cancel reply